Since the announcement of vSphere 5.5 at VMworld, I have been waiting for the day to upgrade our environment. That day has finally come. We decided to go with the Simple Install since there isn’t anything custom when we install vCenter.
We have Horizon View in our environment, so the first step was to shutdown all workstations, linked-clones, etc and disable provisioning to not create additional clones. We shutdown all servers except our Firewall, Exchange, Primary File Server and vCenter servers (Apps and DB’s). Now that we have our environment in a controlled state, we are ready to start the upgrade process. So lets get to it!
Download the vCenter 5.5 Install Package for Windows from VMware, mount the ISO or extract the contents to a temp location and select autorun.exe
 Select the Simple Install Option, review the upgrade process and click Install to start the upgrade of Single Sign-On.
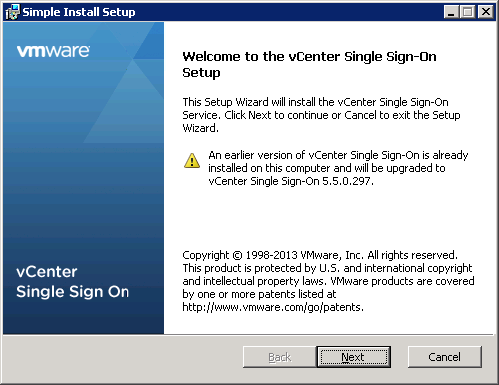
It has already detected the previous version, Click Next

Accept the End User License Agreement, who really reads that stuff! Click Next

Make sure that the FQDN, IP is accurate. vCenter Windows Server is joined to the Domain and Value is correct, Click Next
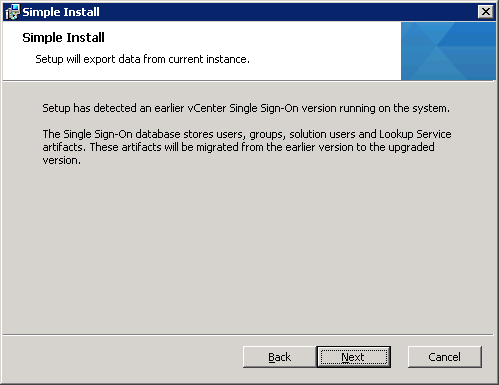
It has detected the previous instance of SSO so it will migrate the existing information, Click Next
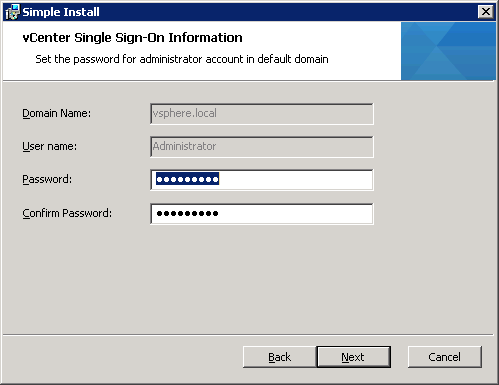
Choose the local default domain account credentials for SSO, Click Next

Confirm the Site Name, Click Next

Choose the install location, Click Next

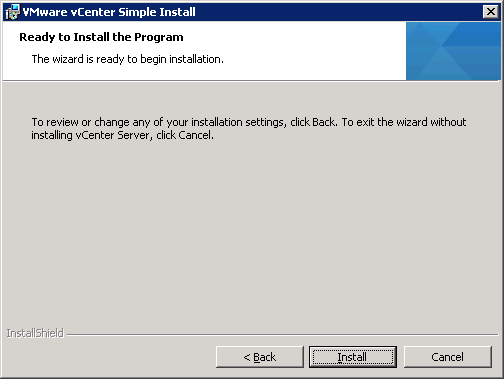
Here is an overview of the choices we made, time to Install
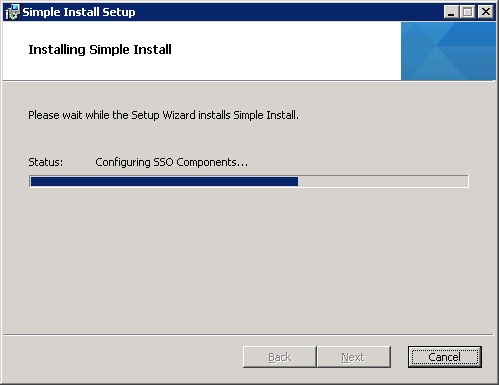
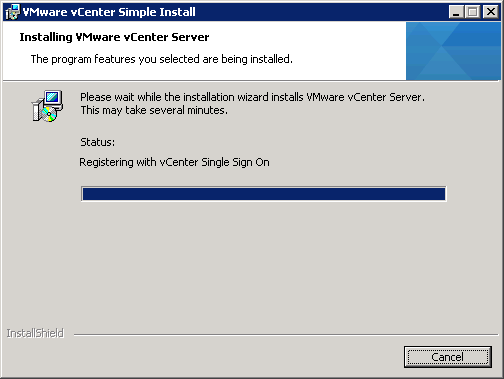
It will take a little bit of time to install, when it completes it will proceed to start installing vSphere Web Client components.

vSphere Web Client begins to install and register with SSO. Next up is the Inventory Service.

Pretty simply choice, keep your existing inventory or stay up all night and rebuild it. We chose to get some sleep tonight! Click Next

It’s ready to install the Inventory Services, Click Install
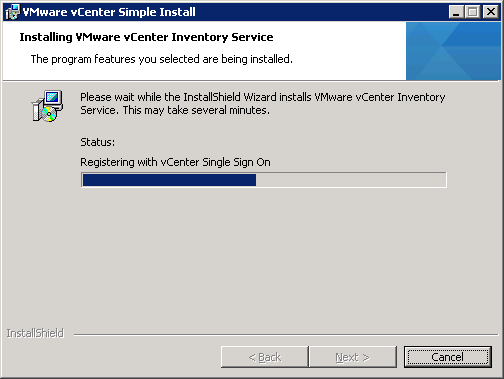
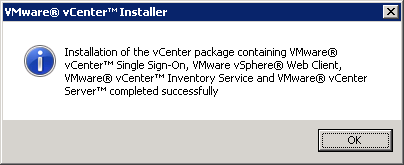
Install the components and watch the progress bar. It will immediately go into vCenter Upgrade next.

Click Next
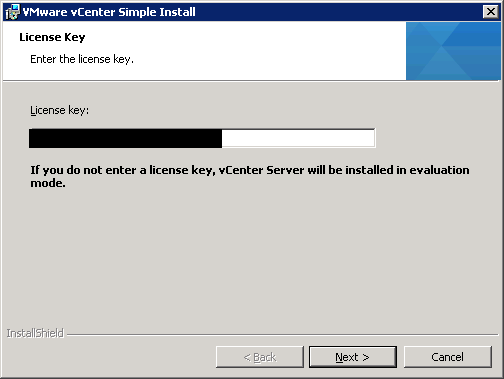
Enter License, Click Next  \
\
Enter your SQL Database credentials for vCenter Database, Click Next

It prompts you that vSphere Update Manager isn’t compatible with 5.5 (we will upgrade that after we are done), Click OK

Upgrade the existing vCenter database, check the box, Click Next

Choose Automatic, Click Next

Unless you want a Domain Account to auto login, choose a separate login account for the vCenter Service Account.
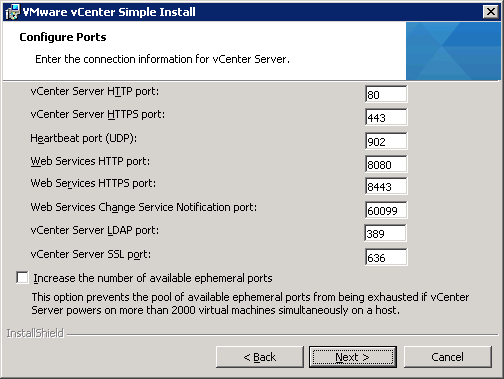
Validate your ports, you have the option to increase the ephemeral ports. We didn’t increase them because we will not hit 2000+ VM’s before vSphere 6 comes out, Click Next
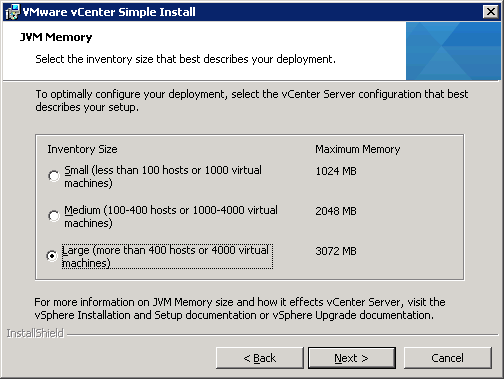
Everybody has a different take on this option, we chose Large so that we don’t have to hit an artificial limit on JVM Memory issues, to each his own, Click Next
Time to Install, Click Install

The database upgrade took a while…
Progress!!!
vCenter has finished the upgrade process, are we done? Not just yet!
Time to install the Windows vSphere Client, just select the Client install option and click Install.

Next through the options since there isn’t any customization to apply.

vSphere Client is updated, to sign in!
So at this point we went to fire up vCenter Windows Client to start upgrading Update Manager but ran into an error where our AD accounts wouldn’t authenticate to vCenter. After a little research (Google!) we found this article from VMware. We have a AD Admin group nested into the Local Admin group, upgraded vCenter doesn’t like this.
It was an easy fix, log in using local admin to vSphere Web Client, go to vCenter permissions and add Domain Admin group (users to manage vCenter), then you are back in business. Now it’s time to upgrade vSphere Update Manager so we can start upgrading ESXi Hosts.
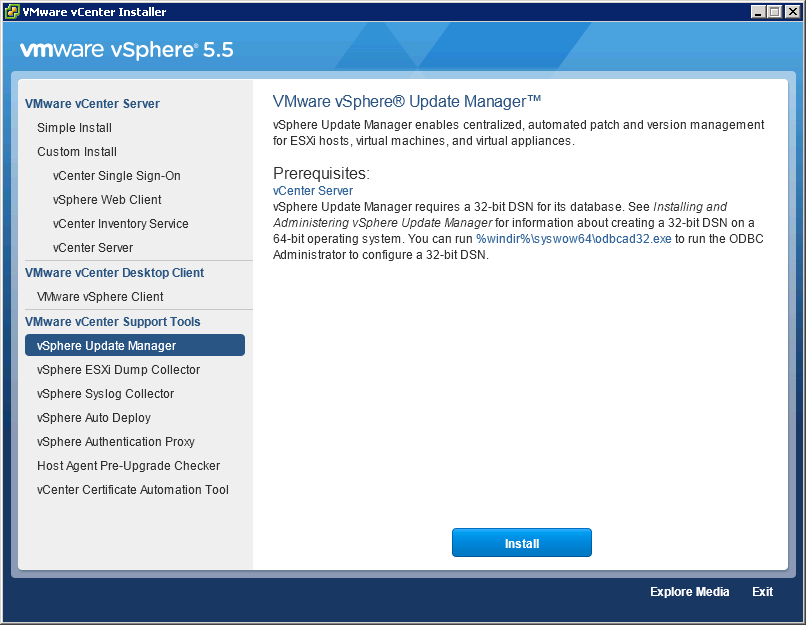
Choose vSphere Update Manager and Click Install

In the Installation has detected our existing version of Update Manager, Click OK

Click Next
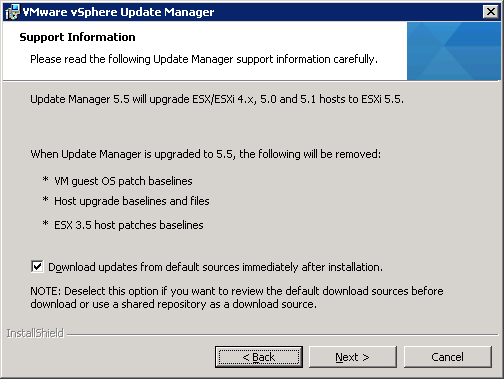
Allow Update Manager to download baselines, patches and others after install, Click Next

Verify your vCenter Information, remember that vCenter account we entered earlier? Time to enter it again, it will validate and Click Next

SQL Connection Info, Click Next

Choose Yes I want to upgrade my VUM Database!, Click Next

Verify Port Settings, Click Next

Click Install

Watch the progress!
Installation is complete time to fire up the vSphere Windows Client to install the plugin.
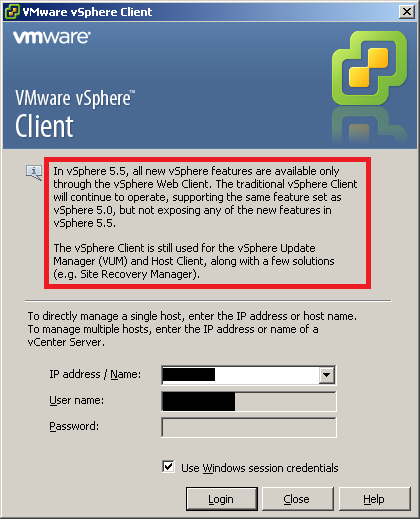
Login using your credentials or use Windows Credentials. Notice the warning in the new version, you MUST use Windows VIC to manage Update Manager, Site Recovery Manager or an isolated Host.
Now we need to load vSphere Update Manager into our vSphere Client so navigate to Plug-ins > Manage Plug-ins

Choose Download and Install under the Status Column, It will fire up the Client Install
Click Next

Accept the End User License Agreement, Click Next

Click Install
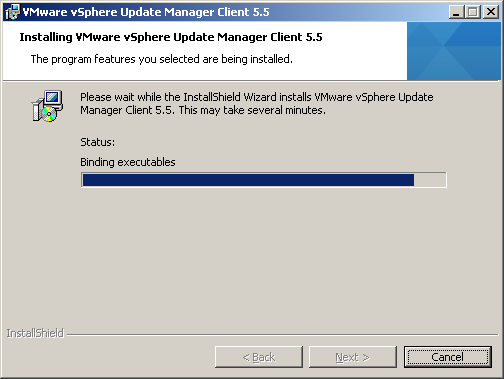
Watch the progress!
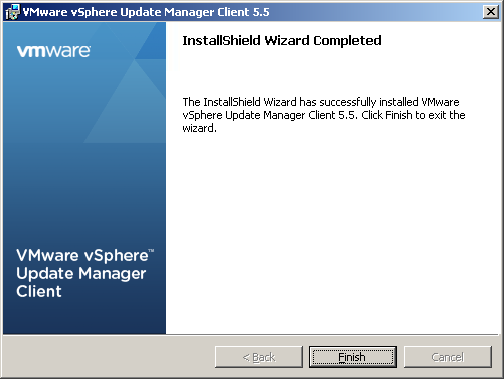
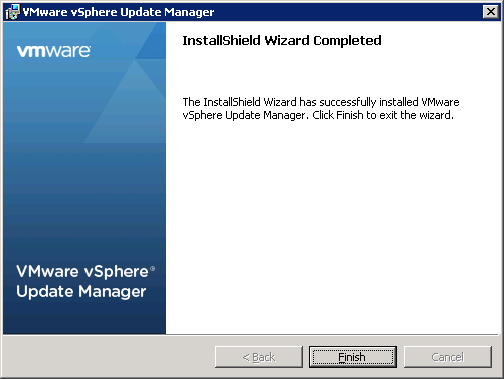
Click Finish
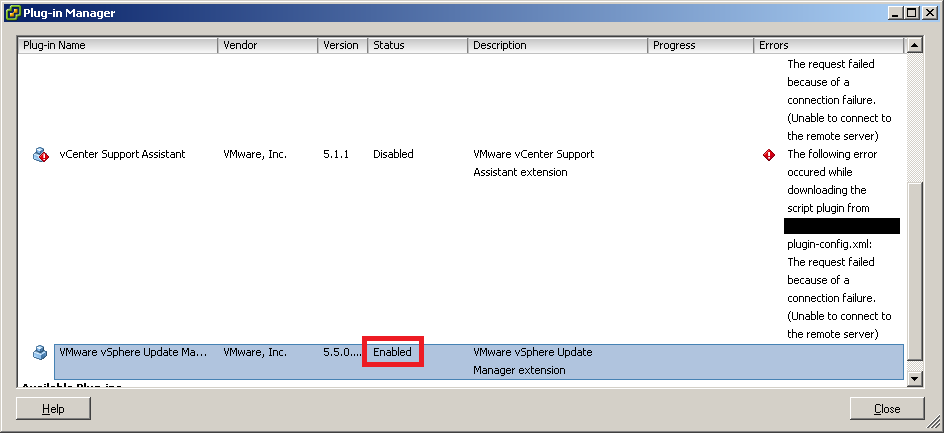
Now we see that vSphere Update Manager has been installed and is “Enabled” in vSphere Client, time to start upgrading hosts!
First we need to create a Baseline to see which hosts are out of compliance. So let’s start there.
From the Home view select Update Manager from Solutions and Applications

Create a new Baseline
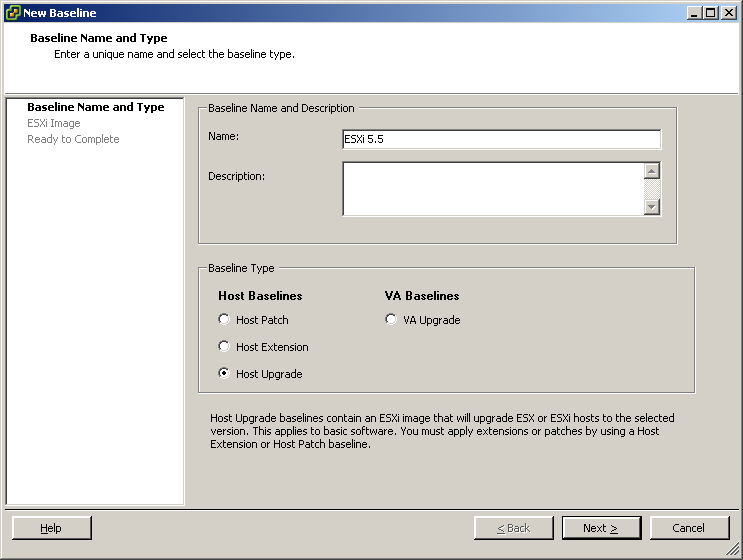
Choose a Name and select Host Upgrade for your baseline type, Click Next

Choose you ESXi Image, if you do not see the ESXi image in the list, go to Admin View > ESXi Images tab to import the ESXi 5.5 image, Click Next

Verify your settings and Click Finish, now we can run our baseline again the hosts we want to upgrade. For now we are only upgrading our Production Server Hosts because we are waiting on Teradici to update the Firmware of the APEX 2800 PCoIP Offload Cards for vSphere 5.5
Final Thoughts
So we simulated almost everything before we did the upgrade in Production, aside from the Nested AD Group, we didn’t hit any snags. I hope this walk through has been beneficial. If you have any questions or comments please post them.
